Top 10 Photography Accessories for Disney (and Beyond)
While the camera and lenses are the main photography purchases most photography enthusiasts and professionals make, accessories and other gadgets are surprisingly important. In fact, if you surveyed serious photographers, I’m sure many would admit that they have closets full of trinkets and camera bags filled with other accessories. I know I do.
Therein lies the problem. There are tons of ostensibly useful and cool photography accessories, but many turn out to be total duds. The other challenge with a list like this is that there are easily 10 standard accessories every photographer should have (wired remote, polarizing filter, flash, etc.), many of which don’t need much commentary. Then you have unique items that will be used less, and can be gimmicky garbage (I’m looking at you, Sony QX100).
For this list, I’m trying to strike a balance between practical items that could use some commentary along with fun things that aren’t as necessary, but open a lot of creative doors (without being gimmicky). To that end, I suppose it’s not a real “top” 10, but I think it’s a useful list nonetheless.
With that said, in no particular order, here are 10 of my favorite photography accessories for Disney Parks photography and beyond…
10. Memory Card – You might think I got stuck at 9 and threw this no-brainer one on the list since you can’t use a camera without a memory card, but there’s actually more nuance to it than that. Ever had a cheap memory card fail, losing all of your photos? Missed a shot because your memory card was writing while trying to shoot parade photos? On both counts, I have.
When one of these things happens, you’ll understand the importance of a fast and reliable memory card. In my experience, there’s nothing better than SanDisk’s Extreme line. What size to get is a matter of personal preference. I tend to like the 64GB size because (for me) that’s at least a full day of shooting. I will caution you on the larger sizes: don’t be tempted to shoot several days in a row without transferring photos over to a computer. If you lose your camera or the memory card does fail, you’ve lost everything.

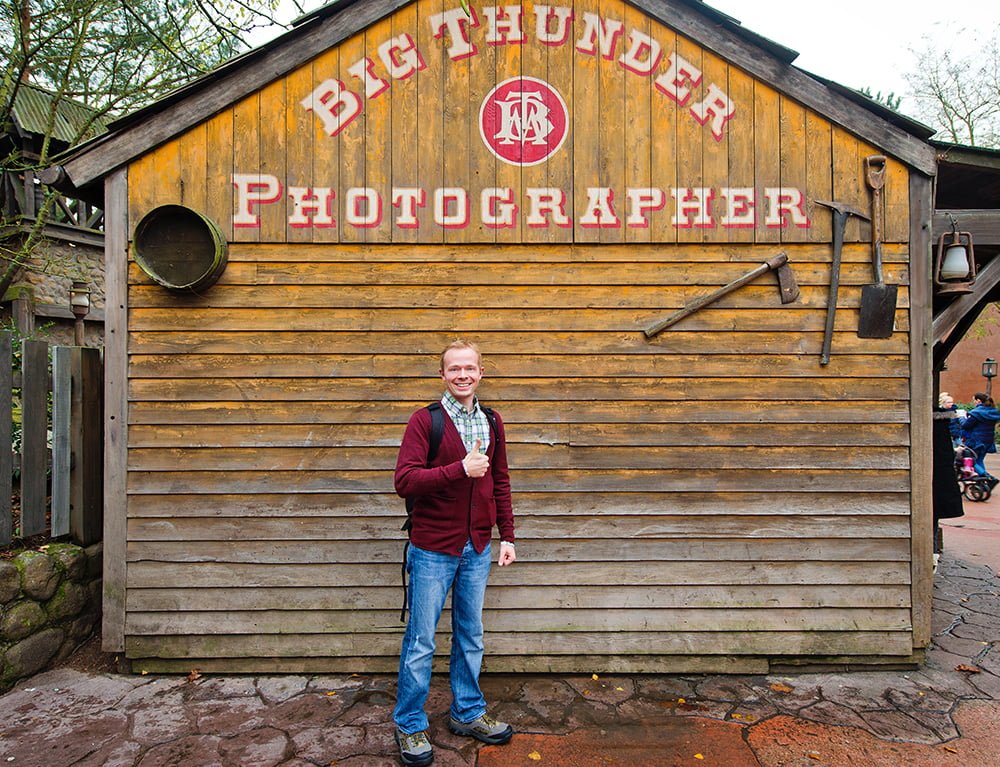
9. Camera Sling – Only two types of people use the straps that come with their camera: newbies and those who buy expensive cameras and want to flaunt the expensive camera name largely imprinted on the strap. (I’m looking at you, Nikon D4s owners. You really think that’s the best strap for a $6k camera?!) For a long time, I was a BlackRapid loyalist, but after having two of their straps fail on me (one might’ve been user error, the other most definitely was not), I asked myself why I was paying a premium for their product.
I switched to this Fotasy Sling Strap last May and have been using it extensively ever since. As you can see from the photo above, it’s ever-so-stylish (if you can get past the rad baja I’m rocking), too! I actually find it more comfortable than the BlackRapid strap–and at a fraction of the cost! A couple of weeks ago, I started testing the Peak Design CapturePRO, and I’m really liking it thus far for a hands-free option, but am not quite ready to give it a full endorsement yet. Once I use it a bit longer, I’ll give my ultimate verdict.
8. Rain Cover – If you’ve ever experienced an afternoon monsoon in Florida (and you have if you’ve visited during the months of…pretty much any of them), you know that rain can sneak up on you like a cat burglar. If you’re so fortunate to have this happen in the evening, you want to be able to take advantage of the opportunity to get killer reflections photos. You need a rain cover to do that.
For years, I was using throwaway Op/Tech covers that get the job done but are basically glorified ponchos. After shooting in the rain enough, I decided to get something more robust (and reusable). I debated between this $15 Altura DSLR Rain Cover and more form-fitting options, but ultimately the latter proved too expensive ($50+), so I settled for the Altura case. It is a bit cumbersome, but for $15, the quality is great and it’s very effective for rain or World of Color.
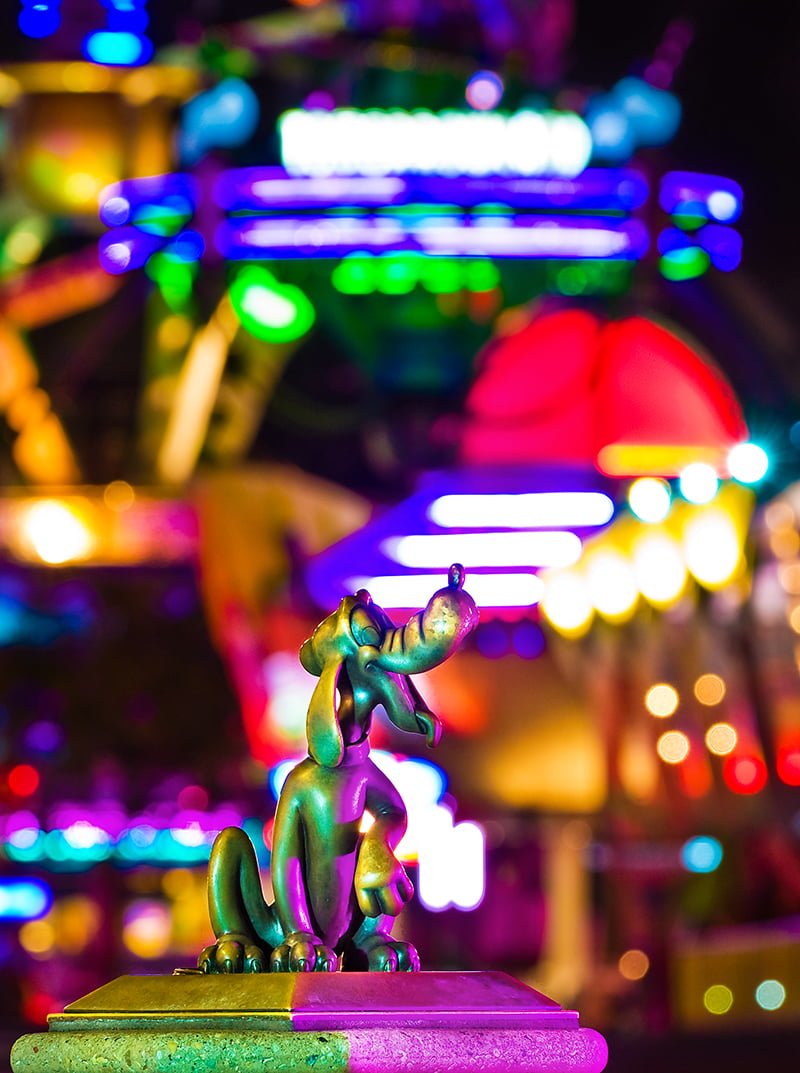
7. Flash Gels – This one presupposes that you own an external flash, which is an accessory unto itself that didn’t make the list (I didn’t want a list full of “basic” stuff). Portrait photographers and strobists have been using gels for years so that their light matches the light in the scene, but I prefer a different approach. Instead, I like to get wacky with gels, and bring artificial color and light to a scene that wasn’t there in the first place.
I’ll be honest: the success rate for this type of shot is very low, as it doesn’t “work” for many subjects. Given that they cost $10 and take up almost no space in your camera bag, who cares? Plus, when you get something cool, it can be really cool. For me, these are a great way to give myself a shot in the arm creatively when I’m in a dry spell. Almost any photo you take with a blue or magenta gel is going to be different than the norm, so originality abounds when using gels.
6. Cleaning Kit – I will be the first to admit that my “camera hygiene” has left a lot to be desired in the past. I’ve shot through dirty lenses, failed to get dust specks off my sensor long after first seeing them in photos, and have been lazy in general. I’ve suffered the consequences of this, spending an inordinate amount of time using the healing brush in Photoshop. (Wasting hours on things I could’ve fixed in minutes in the field.)
I’ve since learned my lesson, and I now occasionally wet-clean my camera sensors (not something I recommend for the faint of heart) and properly clean my lenses. I started with this Altura Kit, but I don’t recommend it–it’s cheap and the blower lacks a filter. Instead, spend a little more and get the Giottos Cleaning Kit. Much higher quality, and won’t simply redistribute dust.
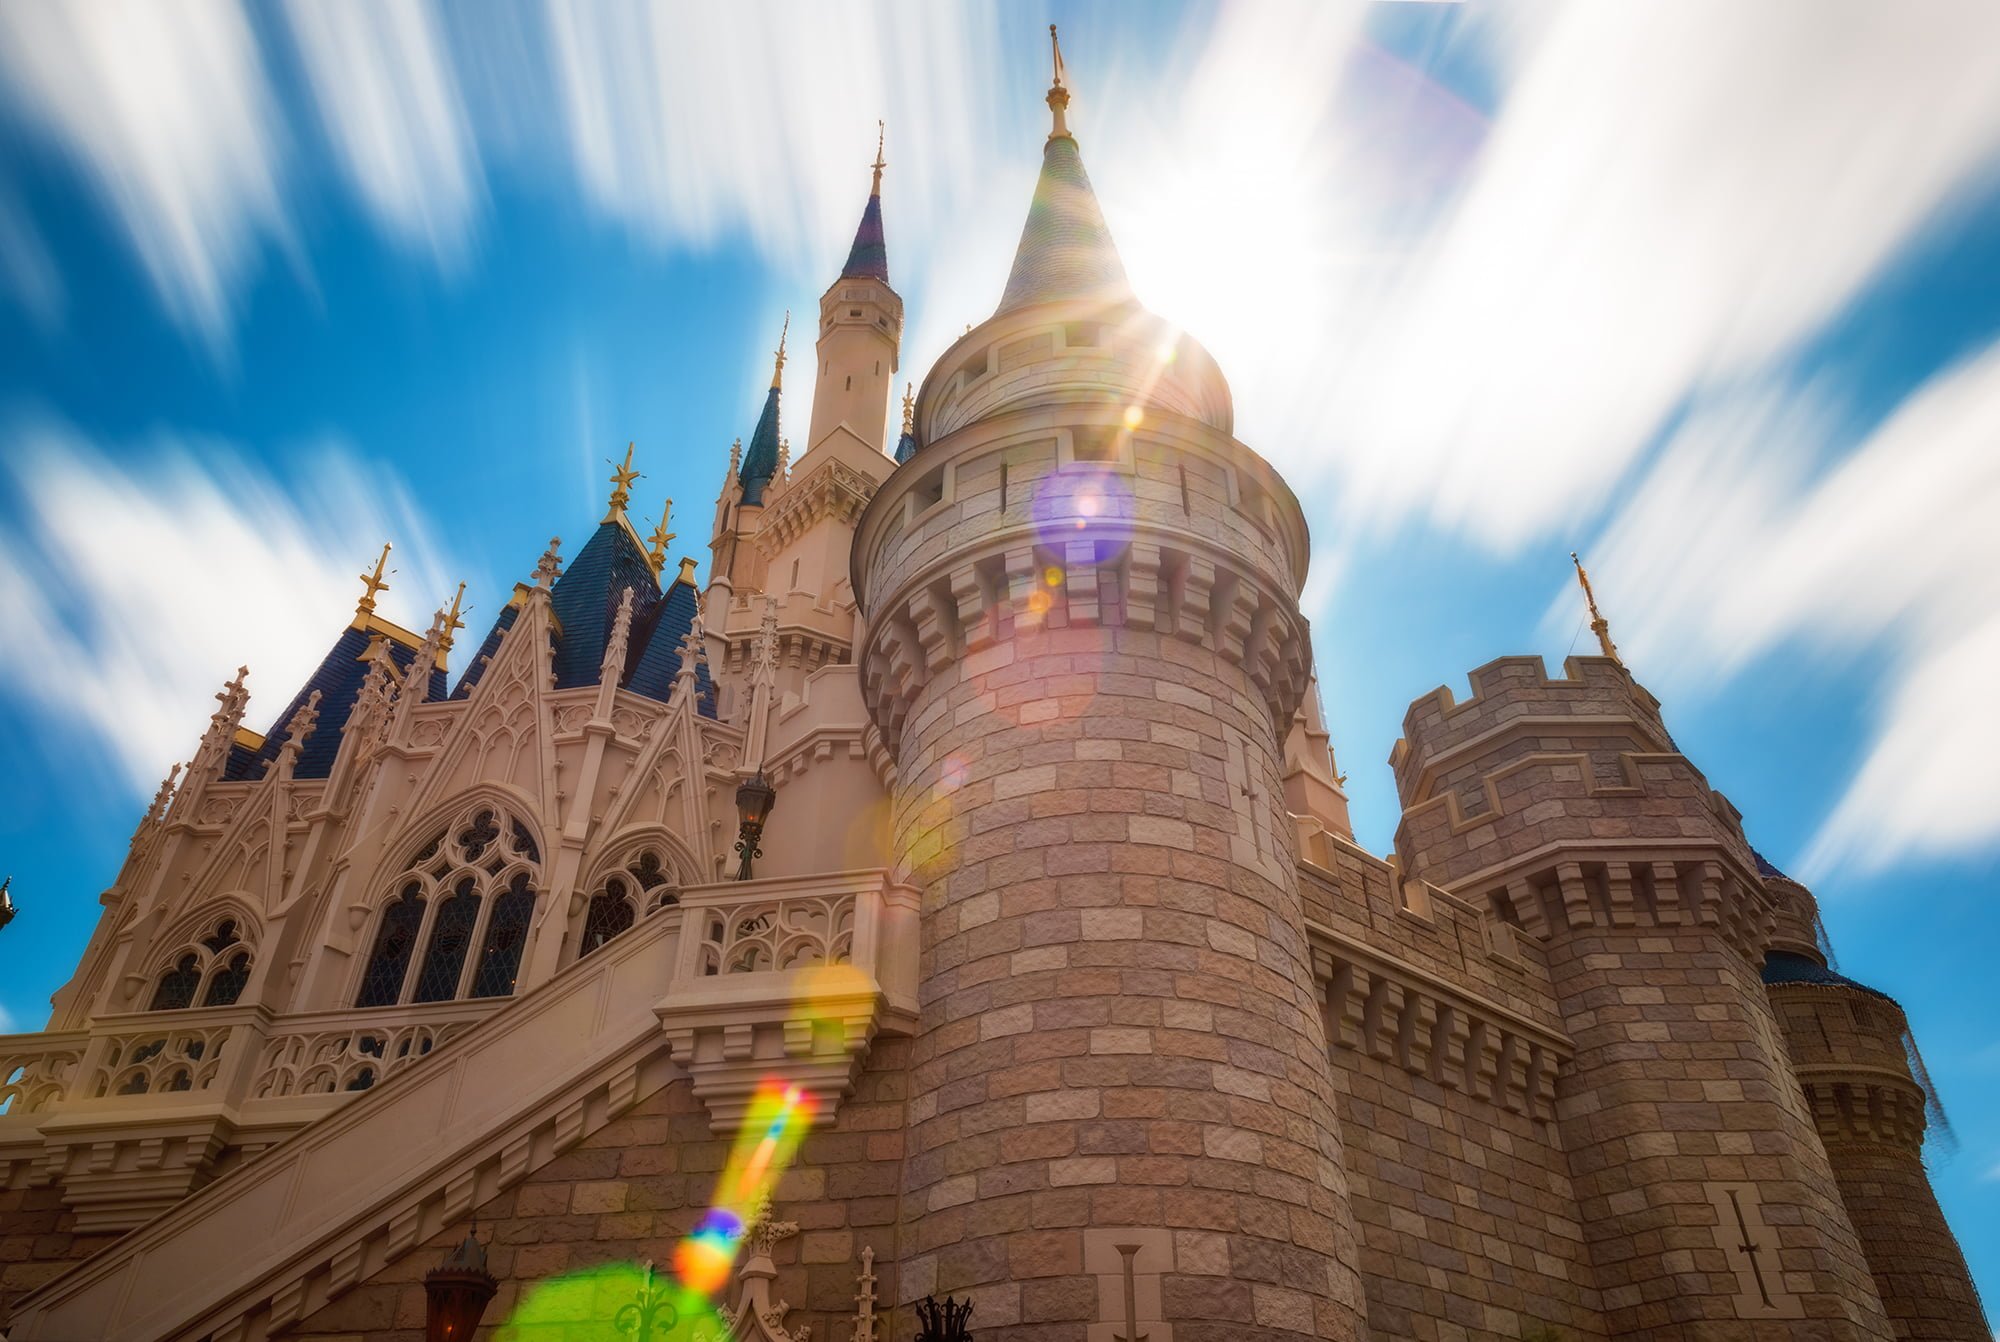
5. Neutral Density Filter – This one is not going to be essential for everyone. If you’re traveling with kids or otherwise aren’t taking trips with a heavy photography component, you can safely skip the ND filter. For best results, it’s something you’ll use during the middle of the day along with a tripod. Many (or most!) people don’t have time for that nonsense.
However, one of the signs that, like me, you’ve gone off the deep end is that you are willing to do that because you want some eye-catching and striking photos. You can see some examples of what I’m talking about in this post. For daytime use like that, I recommend the Hoya 9-Stop ND Filter. It will enable you to take 30-second exposures to emphasize moving clouds (or to eliminate people from landscapes). If you’re only interested in long-exposure fireworks like these, you can go the less costly route and grab the CHEAP-O® Variable ND Filter. If you want to compare other options, read my Neutral Density Filter Reviews & Buying Guide post.

4. Camera Bag – I have come to the realization that I will never be satisfied when it comes to camera bags. I’ve gone through a lot of camera bags on my quest for the perfect one, and for Disney, I already wrote about how I’ve pretty much found it with the LowePro Flipside Sport 20L. (If you only have a single DSLR and only 2-3 lenses, I’d recommend downsizing to the LowePro Flipside Sport 10L.) However, now I’m on the hunt for a lower-profile bag more suitable for urban travel. I think I might’ve found that bag with the Peak Design Everyday Messenger, but the quest continues so I can be sure.
Perhaps when I’m 80, I’ll be able to open a museum showcasing all of the camera bags. Is that something you’d pay admission to see? I sure hope so, because I need to recoup some of the money (I don’t even want to think about how much) that I’ve sunk into camera bags over the years.

3. Green Pod Platform – Despite owning a tripod, I’ve been in the market for a good bean-bag camera support for a while now. I’ve tried a few options, and none hit the sweet spot for me. Most were either too large, designed for car window use (for wildlife photographers), or were just glorified bean bags. I stumbled upon this little-known option by accident, and I’m left wondering why it’s not much more popular.
For me, the Green Pod is very compelling for a few reasons. First, I can take it places where tripods aren’t allowed (namely, Tokyo DisneySea & Disneyland). Second, it can be used for low angles or in circumstances like in a random high spot where a tripod simply would not fit. Third, it has a tripod mounting screw and strap for stabilization. Finally, it’s very light and small. If you don’t want to bother with a tripod, it’s an amazing solution, but even for tripod shooters, this can bring something new to the table.
April 2016 Update: Just returned from Tokyo Disney Resort, where I used this a ton. It worked like a charm, and I was able to take 30+ second exposures with no issue. No added tip is that I’d recommend using a self-timer of 5″ seconds or more (or a remote). This is because it takes the bag a few seconds to “settle” after you last touch the camera.
2. Memory Card Case – This actually became necessary for me thanks to the LowePro 20L’s poor compartment organization, and now I don’t know how I lived without it. It’s nice to have all of my memory cards organized in one spot, and the case holds the cards safely in place.
Think of this case as the cockroach of your camera bag–if the worst happens, everything else might get smashed, water-damaged, etc., and be ruined. This case is waterproof and shockproof, so if all of your other gear is irretrievably fried, at least you still have the photos. There are more expensive alternatives to this case that do the same thing, but I’ve been very happy with the Fotasy 12-Slot Memory Card Case.
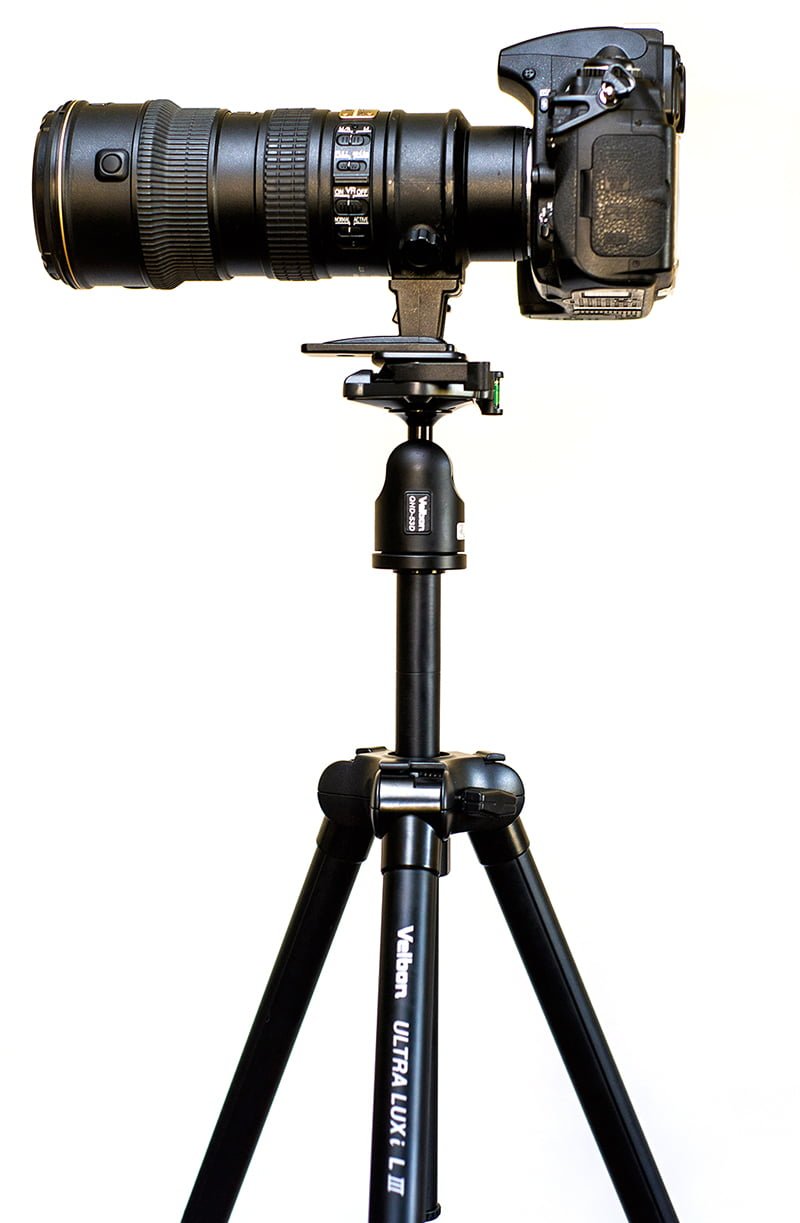
1. Luxi L Tripod – The best tripod for Disney photography is so mind-blowingly awesome that, like hover-boards, it’s too dangerous for Amazon and other retailers to stock. The only place you can find it is from eBay sellers in China. Why? I have no idea, but as I wrote in my review, it’s absolutely worth getting.
Tripods are a touchy subject among photographers, and prevailing wisdom is that you have to make a sacrifice in weight, size, or stability…or be willing to pay a lot of money. For me, the Luxi L is the narwhal of photography: rare, majestic, and so inexplicably perfect that it defies logic. It has no problem supporting my Nikon D810 and Nikon 70-200mm f/2.8 lens in the parks, which is all I need in terms of stability. It’s light, compact, and tall enough for fireworks. For Disney photography, it is a no-compromise tripod. With that said, I still recommend the MeFoto RoadTrip for heavy duty use, now that I’m made the jump to mirrorless, I might just use the Luxi L in the National Parks, too. (Last weekend at Yosemite, the RoadTrip felt like overkill.)
This list truly just scratches the surface of what I feel are the highlights (although I didn’t realize until I had already discussed 10 items that I forgot to include my Wacom Intuos Tablet, which is great for photo editing. Oops!) of my photography accessories. I’m sure other photographers out there have their own top picks, and I’d love to see more ideas (as if I need to spend more money on this hobby…) shared in the comments.
Want to learn more about photography to take great photos in the Disney theme parks and beyond? The best place to start is Tom’s Ultimate Disney Parks Photography Guide, which covers a variety of topics from links to tutorials, tips, and tricks to recommendations for point & shoots, DSLRs, lenses, and more!
If you do want to purchase new photography equipment, we recommend the following trusted & authorized retailers. Buying from these retailers helps support this blog, and doesn’t cost you a thing:
Amazon
B&H Photo
Adorama
For other photography equipment recommendations or photography tips in general check out a few of my top photography blog posts:
Best Books for Improving Your Photography
5 Indispensable Tips for Better Vacation Photos
Choosing the Best Travel Tripod
Choosing the Best Camera Bag for Travel
If you enjoyed this post or found it helpful, we’d really appreciate it if you’d share it via social media to help spread the word about DisneyTouristBlog. We put a lot of work into making this site a helpful planning resource, and hope it’s useful to you! 🙂
Your Thoughts
Do you use any of these accessories? Like or dislike them? Any items in your camera bag that you’d add to the list? Any other photography gadgets you’re considering? Share your thoughts or questions in the comments!
Hey Tom, I was wondering if you’d have comments on the Capture Pro by now? I’ve been considering for our upcoming trip in December (and just for general use too since it seems very convenient).
I’m not a photographer by any means, and I haven’t tried out any slings in the past. I did use the clip for my trek last December to Everest base camp and loved it – well worth getting. I didn’t get the pro, just the base one, and it held my camera beautifully and kept it so handy on my backpack strap. I didn’t trust it 100% so I did keep the camera strap around my neck in case it came off (I was more concerned with the clip coming off the backpack than the camera coming off the clip) but it was unnecessary. After 11 days my shoulder which was carrying the camera was hurting (11 days walking all day carrying a 5kg pack though) but it was fine the first 10!
Easy to get on and off – even with gloves and cold hands – and so convenient, I would definitely recommend it to attach to a backpack.
However, I personally would find it quite annoying to have it attached to a belt (which appears to be what it’s designed for?) as then my camera would interfere with walking. Maybe that’s just me but something to consider.
Hope that’s helpful to you!
Thanks for this post, great information. I was wondering if you have used a monopod instead of a tripod. There certainly would be a risk of some camera shake but it would give the option of more stability yet be easier to carry. I would not attempt any long exposures with a monopod. Thanks in advance for your feedback.
Hi Tom. Thank you so much for sharing so much advice so freely on this website. I am a novice trying to learn about photography right now. I have a basic DSLR with kit lens while I learn. You mentioned standard equipment that every photographer should have such as wired remote, polarizing filter, flash, etc. My question is what would be included in this “etc”? (That’s my level right now.) Also, any recommendations for lower level flash (less than $300) or is this pretty much what would be required to be of any value? Once again, thanks for all the resources. I am ordering your suggested book right now!
Hi Tom,
Are monopods allowed in Disneyland? If so, do you have suggestions on which to buy?
I’m also looking for an affordable, smallish sized (I am a petite lady – 5’4″, 100 lbs – I cannot wear a large pack) backpack/waistpack that can accommodate a body, 50 mm, 24-70 & 70-200mm lenses, and allows for quick & easy lens changing. DO you know of such a bag? So far in my search, none seem to fit the bill.
Thanks,
Jane
I’m a newbie, and I use the standard camera strap. My wife got herself a “girly” strap she likes, but when I’m using the camera, I keep it stock.
I sling it over my body like yours, what’s the benefit to a different strap? What’s wrong with the standard strap?
Great post, Tom! The Greenpod sounds like a great investment for me, since I like to travel as light as possible, and tripods are generally quite cumbersome. I have been using a Capturing Couture scarf strap and MAN is it soft and comfy. The only downside is that it is a bit “bouncy” due to the material.
Ooooh, that Green Pod Platform looks VERY interesting. Thanks for the link. It’s been added to the very top my wish list. I already know it’ll be put to good use. There were a lot of situations where something like that could’ve come in handy.
Although slightly off-topic, what do you think of 360-cameras (like the Ricoh Theta) for Disney?
I really like the idea of doing a different memory card for a different day. I never thought of that. I always just take pictures until the current card is filled then change with the next card. I thought carrying a couple of cards was ok. But having one for each day for a trip is a great idea.
Tom,
As a owner of an original BlackRapid strap what should I be on the lookout for as the failure mode?
Thanks
I love reading your photography posts. There are a few accessories in there that I didn’t know even existed, which means I’ve been entirely too out of it and neglectful to my hobby. Thanks for posting such helpful information, I always enjoy your photos. 🙂
I have the Peak Design Slide, Capture, Clutch and Messenger bag! Love the Slide my BlackRapid straps is collecting dust may end up selling them in Craigslist. I also love the Clutch and use it with Capture Pro. The messenger bag I find too small for my setup, D810, 24-70 and 70-200V2 so I just use it mostly for work. I also have Roadtrip CF love it too! Bags,depending on how much I carry I change between my dependable Flipside 300 and the best backpack to carry all my gears Lowepro Protactic 450AW! The Luxi tripod piqued my interest though! Thanks!
I have been using the original Peak Capture for a few years now. I love it. I usually wear it on my belt and it can dig into your hip a little bit with heavier zoom lenses, but it’s really convenient with the smaller lenses.
The rain cover problem has been driving me crazy. I feel like Goldilocks as in “This one is too flimsy” or “This one is ridiculously large”. I’m taking your advice and using your link to order the Altura. Think of how sporty I’ll look while riding Pirates of the Caribbean, sans poncho, but with a camera cover that can take on the Tsunami that will invariably result simply from my presence in the front row. Squish, squish, squish will be the sound of me walking away from the ride with a totally dry camera. Thanks Tom!
Are you serious about using that poncho on Pirates of the Caribbean? Like the rest, this one is pretty cumbersome (and large), and I can’t imagine shooting a dark ride with it. For that, I think you’re going to need to purchase one of the more custom fit ones. I can’t seem to locate the link on B&H now, but when I last checked (a few months ago) they had one for DSLRs that came in 3 different sizes. Prices ranged from $60 to $100, depending upon size. I met someone at Disneyland who used it, and he liked it a lot.
During the Pixelmania meet in 2014 we were all riding Pirates when a wave hit us that was so voluminous it wet people 3 rows back. Everyone in the front row, including me got completely soaked. I did get to find out what “weather sealed” meant as my Nikon D4 and 70-200 lens took a full on flushing with what turned out to be nary a problem. As soon as we got off the ride Jeff Krause reminded us to take out batteries out right away. ( I think that water magnet, Don Sullivan, was also on this ride with us) Only one person had a problem with an older camera when one of the back buttons died permanently after getting really wet but he was going to upgrade his camera body anyway. We refer to this epic experience as the Pirates of the Caribbean Tsunami ride.
One time as I was walking near Splash Mountain a gentleman approached me with a sad look on his face and water sloshing inside his front lens element. He was asking me if there was any way to get the water out. I did not have any ideas on how to accomplish that besides sending the lens in for a cleaning and repair.
The moral of this story is that sometimes you get the bear, other times the bear gets you. Disney water rides don’t always play nice so you have to decide if you “feel lucky” and want to take a chance. You can hedge your bet by knowing ahead of time how the ride operates and where the best chance of getting soaked is but sometimes one ride’s misting can morph into a major storm during the next ride (Splash Mt. I’m looking at YOU!).
Personally speaking I was just planning on using this cover for outdoor rain shots and not for the dark wet rides like Pirates. After shooting Ice at Gaylord Palms and dealing with the condensation from the exit from the 9 degree temperature to that soaking on Pirates I’m satisfied that my Nikon D4 ‘Can take a licking and keep on ticking’. Those were horrifying experiences to have with a camera but what good would any equipment be if you cocooned it in a box and prioritized keeping it safe above all. Like Kathy Bates said in the movie Fried Green Tomatoes “I’m older and I have more insurance!” That D4 is going to roll right along with me no matter where I go.
Stoked that I had #9 and #1! I bought the tripod after reading your original review. I’ve had it since last May. It’s the best travel tripod out there and worth every penny!
Thanks for the tip on the Green Pod! I’ve been looking for a legitimate tripod substitute that I can take to Tokyo Disney Resort, and that looks like just the ticket!
As a follow-up, in case anyone cares, I picked up a Green Pod. It is the HEAT. I’ll always prefer having a legit tripod, but lacking the ability to take one, it was hugely helpful on my recent trip to TDR. Easy to stow when not using it, and a LOT more useful than my shaky hands for stabilizing a camera on a garbage can.
Does the camera sling work okay if you’re using a sling camera bag? Seems like they would get in the way of each other. I have the Lowpro 202 AW sling bag. Yes…I’m still using my cancer strap that came with my camera but would love to find something that I can use with my bag. Another great article Yom.
*Tom*
Hi Tom,
I’m ready to take your advice on purchasing a copy of Understanding Exposure. It looks like the fourth edition comes out in March… Would you wait for that, or get the third edition (from 2010)?
Thanks!
Larissa
Get the old one. The fundamentals of photography have not changed since 2010. There might be some new info about digital photography, but that’s not essential to the book. The reason for the new edition is most likely the publishers wanting to make more money.
Great post tom! I like your pod suggestion especially for places like Tokyo Disney. I was wondering if you’ve used the joby gorillapod for DSLRS. they look pretty small and compact. Would something like that be allowed in the Tokyo parks?
Tom,
More great camera gear advice. Thanks. I have to look into the Fotasy Sling before DL in April. Regarding the Lowepro 20L, a few places that I looked said that it was no longer available, although I did find it in orange. However, I ended up with the 15L, which holds my 7DII + 70-200, along with four wider lenses (it’s amazing how many of your recommended lenses I have ended up with).
Do you still use the 20L with your mirrorless setup?
At present, I’m still using the 20L for hiking, but only because I haven’t found a smaller backpack style bag that I like. I might replace it with the Lowepro 10L, but want to see if there’s anything else out there that I like, first.